Thursday 25 March 2021

Pocket Card Perfection Blog Hop

 Pocket Card Perfection-

Lovely


   I'm so happy to be back, blogging and creating!!  I don't know about you, but I've experienced a real *SLUMP* lately.  So, WELCOME BACK!  This time round the blogging gals are creating with the Picture My Life (PML) cards created for the Lovely and Party Time collections, as seen in CTMH's Annual catalogue.  I'll be showing off what I've made with the Lovely PML cards.

  But first, a special Hello and Welcome to any first-time viewers.  For your information, this is a 'Hop in the round', meaning each blog is linked to the one before and after it.  If you get lost, you can visit the master list of blog- hoppers at Melinda's site- If You Bling It .  You should have come to me from Kim's blog.  Now to the pretties.

  When I first saw the Lovely paper pack, I knew I wanted to create with it, so I snapped it up!  But I didn't know exactly what I wanted to do.  And then CTMH brought out the PML cards for this Special and I KNEW!  I ended up making 2- 2 page layouts and 9 cards (actually more than that).  Here's the first layout:


When I saw the kitchen cannisters, I knew just what I wanted to do- my younger son (he's 12) was tasked with making pizza, as part of his 'at home' learning and we'd had to take pictures of the various steps to document it all- Ta Da, a layout waiting to happen!  So, here, I've integrated the Lovely ppk with 5 of the PML cards, some of the Eat, Play, Love Wooden Assortment (available in the current March/ April Catalogue), and some of the Lovely Stickers.  Notice how I coloured the wooden shapes with the Toffee and Evergreen Shimmer Brushes.  Now I just need to print off the pictures and add them!

And the second layout:


I just love this layout!  I plan to add pictures of my garden here.  I've used several of the cards, along with parts of the paper pack and stickers, and I've used the Daisy Meadows Dots to embellish.  Notice in the lower left corner the matted PML card.  It's matted on vellum, so you can see the mat below. 

It's also in a Flipflap!  Flip it over and there's room for more pictures! 


And, if you look closely, you can see that I added a little shimmer to 

some of the sticker elements

with the clear Shimmer Brush.  


These layouts came together so quickly; I can't wait to add their pictures!


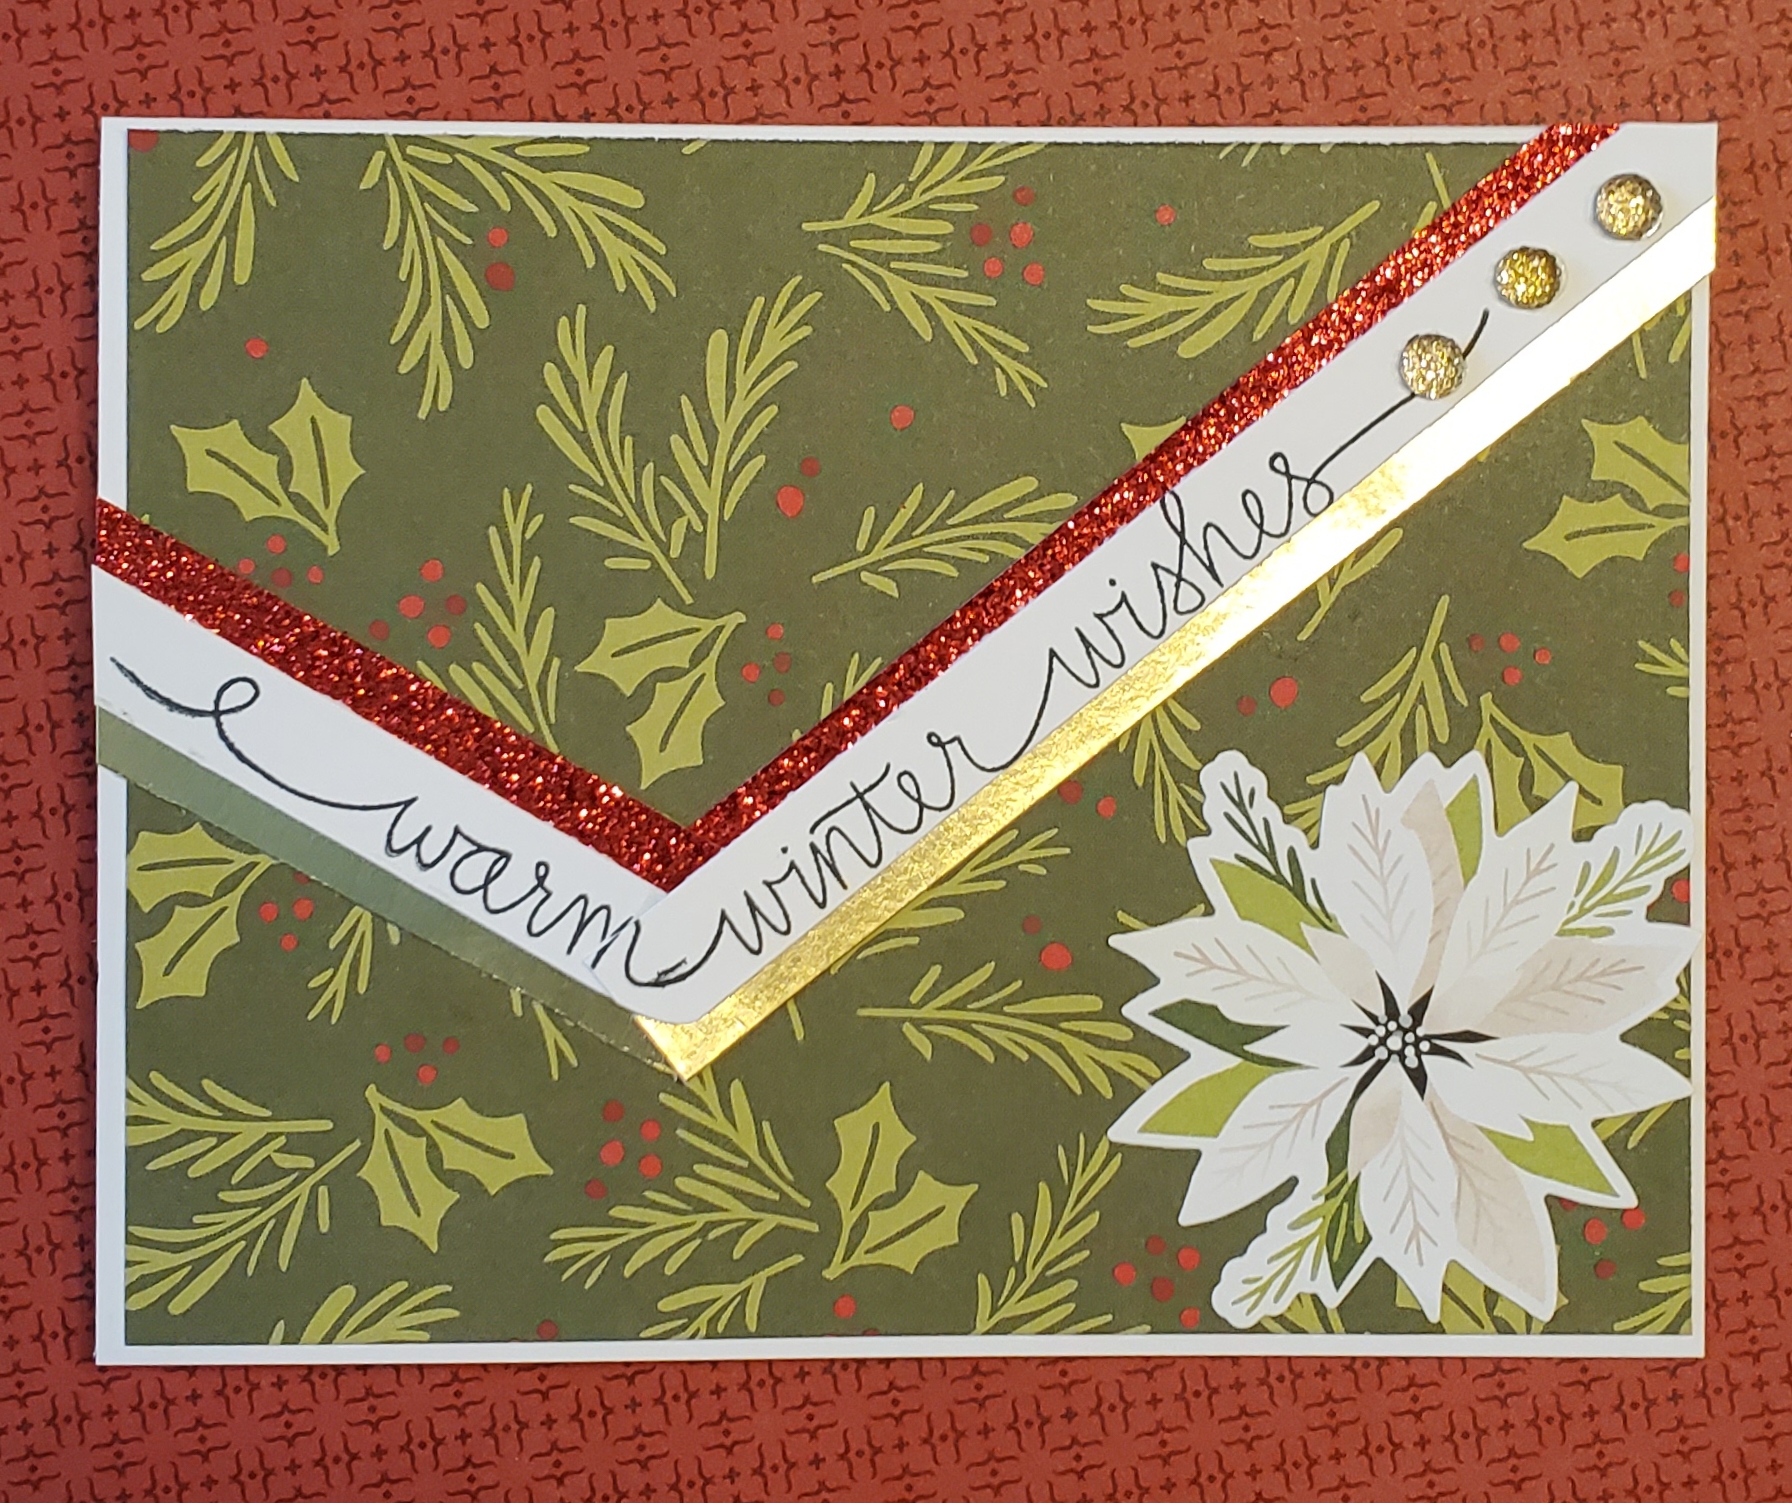
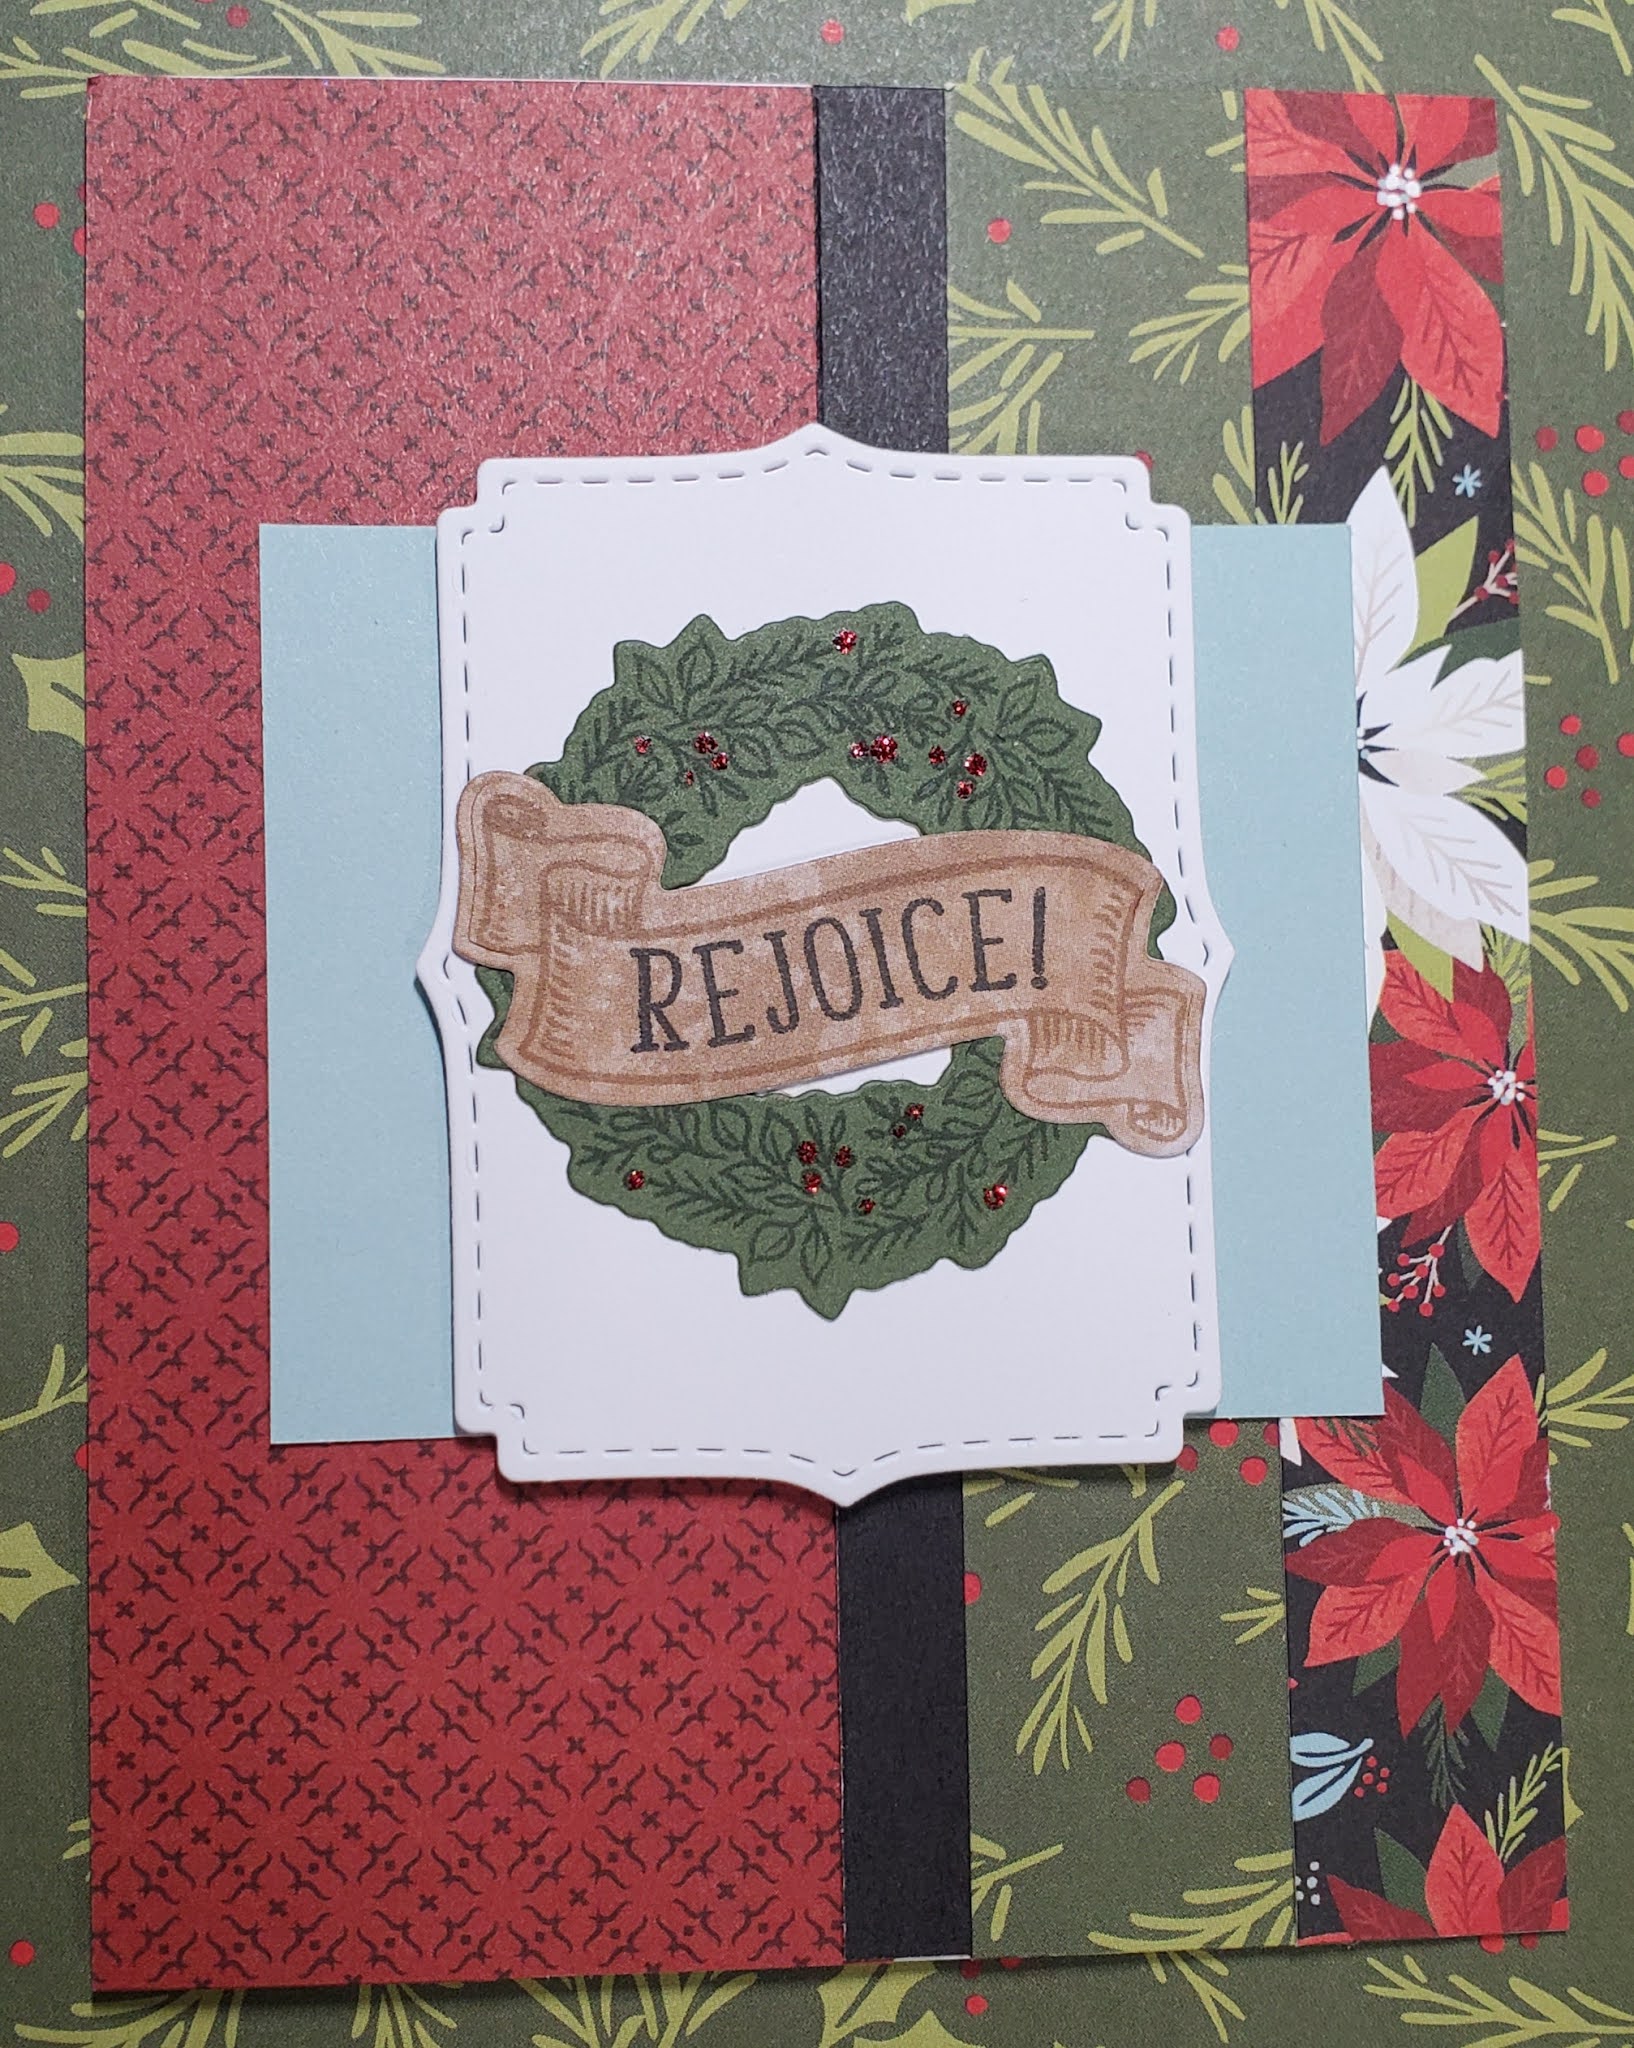
  Next up are the cards I made using the PML cards.  For the cards I sat down and made a '1-sheet wonder' cutting guide, keeping in mind the card layouts I wanted to use, and then I made its complementary guide for the matted pieces.  I actually ended up making 21 cards from the guides I created but only 9 of these incorporates larger pieces of some part of the PML cards, tho there are many remnants left to use.  Here they are:


Again, I used the PML cards (in part or whole), the Lovely ppk, the Lovely Sticker sheet, along with various embellishments (mostly Blue Belle),  and a few sheets of cardstock and vellum.  Most of the cards have only 1 or 2 PML card elements but some incorporate 3 or more cards.  For example, the '&' on the You & Me card, has been fussycut from a PML card;  while the card next to it incorporates 3 different cards, a piece of cardstock and a piece of Shimmer Trim.  I tried both water-colouring the images, as well as colouring with Tri-blend and Metallic markers.  Though it does not show up well, the butterfly on the bottom left card is coloured with the Metallic markers, on vellum, folded and mounted on 3-D tape.  


And, inside the 'birdie' cards, I stamped this.


  So this ends my 'show and tell' portion.  I hope you've enjoyed my cards and layouts!  I urge you to order these special PML collections while they are available, so you can re-create some of the lovely (no pun intended, LOL) artwork you've seen on this Hop.

Now, 'hop' along to Wendy's blog, your next step in this Hop.  Please feel free to leave comments, we love to here from you!  Until next time, go forth and Get Crafty!


Wednesday 18 November 2020

November/ December Catalogue New Product Blog Hop

    Welcome to the current round of blog hops.  In this round, we will be featuring our favourite product(s) from the November/ December Seasonal Idea Book.   Remember, this is a Hop in the Round; meaning, if you visit everyone then you'll end up where you started.  If you've come from  Becca, then you're in the right place.  If you get lost along the way, just visit Melinda for the List of Hoppers.


   When I opened this catty for the first time, I remember flicking through the first few pages, until I came to page 14, and then I went "WOW!!", and I fell in love with Serenity.  There's no way I can tell you what it is I like about it because there's so much that I do like.  It's just WOW!  Having said that, I couldn't pick JUST 1 product to feature- there's just so many I HAD to HAVE!  I've mixed a few to show you.


   I wanted to do lots of pretty projects to show off this paper pack but I've restrained myself to just 1 2-page layout and a couple cards.  While I wouldn't classify Serenity as a 'Christmas' paper, or even a 'Winter' paper, it does lend itself to many pretty cards, including cards for the holiday season.  Have a look:


   I just love the Blue & Brown colour combination.  I've used 3 of the designer papers here, along with a few of the snowflakes from Elegant Snowflakes (Z3899), a little of the Blue Belle Shimmer Trim, the Steel Stickles and the Blue Belle Glitter Gems.  Sentiment is stamped in Sapphire ink, on Daisy White.  Just a simple card with a lot of layers.


  The next card is just a bit of silliness but I like it!


   Here, I've used the Toffee Zipstrip along with the 'variegated blue ice' paper (my name, LOL) as a background for 1 of those silly Christmas Gnomes from Gnome for Christmas (Z3902).  The sentiment is stamped in Blue Belle and matted on Sapphire.  The Gnome, his Mushmas tree (Christroom?) and pressie are coloured with a variety of Triblend markers.  I wanted to bring in the colour scheme from Jingle Joy for this- a variety of pinks and greens and lighter blues.  I think it looks cute (and my husband wants to send this one to his family- LOL).  To finish off, I put a drop of Red Stickles for the holly berry on the Gnome's hat and used the clear Shimmer Brush to lend a little sparkle to the ornaments on the Mushmas tree.

   Finally, here's the 2 page layout I came up with:

I used that variegated paper as my base and cut down the pinecone paper to 9x10.  There's room for 2-4x6's, 2- 4x3's and 2-3x3's, along with any combination of flipflaps!  I used a few of the items off the Sticker Sheet and a couple of the PML cards too- the brown one is for journaling and the snowflake is for interest (note- I used a blue sequin from the Blue Belle pack for the center).  To add a little sparkle, I sprinkled more of the sequins around the pages.  I really like the 2 corner features I came up with to 'contain' the group.  

   Well, I hope you've liked what I've had to show you.  Please visit everyone and don't forget to leave comments- we love to hear from you!  Now you're off to Brenda .  I hope you've found some inspiration here.  Have a gander at the Nov/ Dec Seasonal Idea Book;  undoubtedly, there's something there to make you go WOW! too.


Friday 6 November 2020

Holiday Cards Blog Hop

Holiday Season Card Hop

   Welcome Back!  This Hop is all about Seasonal Holiday cards, whether you celebrate Christmas or Hannukah or something else entirely, whether you're closer to the North Pole and have already had snow, or if you're celebrating in board shorts under a palm tree. 


The only requirement we had was the products used had to be available for purchase online (you can visit me here in Canada at Newfie-Scrapper, and more about that later*).  This is a 'Hop in the Round', meaning you should end up where you began if you visit all the participants.  If you get lost, you can find a master list of 'hoppers' with Melinda.  If you've come from Lauren, then you're in the right place!  Let's get started!!


I wanted to show several cards made using Comfort and Joy and Jingle Joy, Blue Belle and the latest set of Mix-Ins.  I made 3 cards with C&J, 2 with JJ and 3 more using the Colour of the Year- Blue Belle.  Let's take a look at the Comfort and Joy cards first.


The first Card uses the November Stamp of the Month- You Warm My Heart (S2011/E).  This card was a bit of an 'Oops' for me because I had a very particular picture of what it should look like in my head and the reality doesn't quite match- LOL.  I stamped the cup in black ink, on the red and fussy cut it out (Note: if you have Perk Up! Thin Cuts, they will fit the cup but not the lid).  I had wanted to highlight the center of the cup using *white* Embossing powder but apparently my 'white' is actually clear, hence the 'oops'! 

Products used include: Comfort & Joy ppk (X7261B), Clear Embossing powder, SOTM** 2011(E), Scarlet cardstock, Glacier ink, Black ink, Blue Belle glitter gems, and Daisy White cardstock.  I LOVE this month's SOTM;  remember, it's only available during November, so order yours now.


 The second C&J** card uses strips of C&J patterned paper, along with a little Black cs (cardstock).  I used the wreath and banner from the C&J card kit (G1216).  

  Products used include: the larger Stitched Fancy Bracket die (Z3686), New England Ivy cs and ink, Glacier cs, Serenity PML** cards (X7263D), Toffee ink and Christmas Red Stickles (Z3555). 


 The third C&J card again uses strips, a little New England Ivy cs and the light green patterned paper, with the Zip strip attached. I stamped the sentiment (from C&J- cardmaking stamp & Thin Cuts, Z3773/ C1864) in Candy Apple and die cut it, attaching it with 3-D tape and embellishing with the holly leaves stamp and Red Stickles.


 The next set of cards all use Blue Belle. 


For the Joy card, I stamped M1283 on a pc of white cs cut with the Stitched Bracket TC** (Z3631).  I used the long stamp from Elegant Snowflakes-Z3899/ D1981 to stamp along the folded edge of the card and random stamped a medium sized snowflake across the card base.  I covered half the stamped card base with a triangle of BB cs**.  I finished it off with a little Steel Stickles (Z3786).  A nice Simple card!


The first Noel card uses M1281, stamped in Sapphire ink, on a piece of white cs die cut with a Stitched Bracket TC (Z3631). The patterned pc is from the most recent Mix-In ppk, X9021, and I used strips of Toffee and BB cs.  The sentiment was popped on 3D tape, allowing for the addition of a little Silver Thread (Z4213) embellishment.


The last Noel card also uses M1281, stamped in Sapphire on the same shape of white cs.  Again, I used 2 patterns from the Mix-In ppk (X9021) and a pc of BB cs.  I finished it off with the addition of a few BB glitter gems (Z7001). 


Just a note on the 2 Noel cards- I debated highlighting parts of the Noel stamp with silver embossing powder (maybe just the inner line) but in the end decided not to, although I think it would look really nice.


And, finally, the 2 Jingle Joy cards.  I love when we have 'candy-cane' papers, just can't resist using them!  As you see, I used it here with the Multi Square Window TC and Jolly Characters- C1875. I stamped the characters on leftovers from previous die cuts (white) and then coloured the characters using a variety of Tri-Blend markers. I mounted it all on a black cs mat.  The sentiment, from Elegant Snowflakes (D1981), is stamped in Black on a die cut pc of white cs (Z3631). I popped the sentiment on 3D tape and finished by adding a few BB glitter gems.


And the last card also uses the striped JJ** patterned paper and Jolly Characters- C1875. I cut a strip of the black patterned paper and this Zip strip and placed them over  (!!NOT stuck to) the bottom part of a pc of white cs and ran them thru my die cutter (Z3688).  Then I centered and stamped my character trio and coloured them in.  THEN, I stuck the Zip strip and patterned paper down, centered on a pc of Clover cs and centered again on the candy cane paper.  I stamped the sentiment (from C1875) onto a pc of white cs cut with the smallest TC in that pack (Z3631) and embellished with a bit of silver thread (Z4213).


I hope you've enjoyed my cards and have found something to inspire you!  From me, you're off to visit Alyson.  Happy Hopping!

* pls note:  all products used WERE available at the time I made this post.  Since then, several of them have either sold out (not to be restocked) or have been placed on the Unavailable/ Back-ordered List (will be made available again).  I believe the only item sold out is the Comfort and Joy cardmaking kit (G1216), which stamp is used in the 2nd C&J card.  Pls contact either myself or your consultant for help purchasing these items.

**cs= cardstock, ppk= paper pack, SOTM= Stamp of the Month, pc=piece, PML= Picture My Life, BB= Blue Belle, C&J= Comfort and Joy, JJ= Jingle Joy, TC= Thin Cut


Sunday 1 November 2020

November Stamp of the Month Blog Hop

Welcome back to the Stamp of the Month blog hop.  This month we'll be featuring November's- You Warm My Heart (S2011/E)- it is available in both American and British English spelling (cosy vs cozy).  This is a Hop-in-the-Round, so if you visit everyone, you should end up where you began.  If you've come from Kristine then you're in the right place!


    While I understand people's obsession with coffee, I just can't drink it.  I'm a total Tea- lover.  But I have nothing against a nice 'grande' Cider or Hot Chocolate with a whipped cream topper!  Tea is for all year long/ all day long, cider is a Fall fav and Hot Chocy goes down well while snuggling under a nice warm blanket with a book (reader) and a cat (or 2!)- Bailey's or Godiva optional LOL.


    I have quite a collection of 'food and drink' type stamps, so I was very happy to see this one and quickly added it to my cart!    


     Here's my offering for this month's hop; I hope you like it!


   I used Blue Belle, Toffee and Espresso inks, Triblend markers in the same range, as well as red and green for the candy cane and a Black journaling pen for the small accents.  The cup was stamped in Blue Belle, then I wiped the ink off the back rim and handle and filled them in with a Toffee- like marker.  I hadn't clued in that the little design elements actually matched the cup and coffee cup until AFTER I was done, so I used one of my Embossing pens to draw in the designs on the cup, then I heat embossed with Silver powder.  I wanted to achieve the look of a blue/ tan cup with silver motif.  And of course the hot chocolate must have whipped cream and cocoa sprinkles on top, with a little candy cane stir stick!  The 'tablecloth' is from the latest Mix-ins pack, the 'saucer' is the liquid stamp, in Toffee, and I created the background/ wallpaper with a little French Vanilla cardstock and 1 of the smaller element stamps from this set.  

   Please be sure to visit all the participants.  From me, you're off to Haley.  We love to hear from you, so please feel free to leave comments.  Don't forget, if you get lost, you can pick up the trail with Melinda .  Happy Hopping!


Sunday 18 October 2020

Core Catalogue New Product Blog Hop


   Welcome to the Core Catalogue New Product blog hop.  If you're a first-time 'hopper', we are a hop-in-the- round, which means you should end up where you began if you visit everyone.  If you've come from Lauren, then you're in the right place.

   The New products I will be featuring are the Window die (Z3759, pg 59), the Fancy Borders die set (Z3682, pg 60), the Shaker Square Window Foam + Acetate (Z4313, pg 59) and stamp set Autumn Scene (B1722, pg 37).  

   I have also used New products from the Sept/ Oct catty, stamp set By the Fireplace (B1721, pg 36) and paper from Bloom with Grace (X7260B) and Min-In paper pack (X9019), in my second card.  Other products used include Liquid Pearls in Bisque (Z3792), New colour cardstock in Cinnamon (X6052), and inks in Desert Rose (X6525), Sundance (X6521) and Avocado (X6523), as well as a variety of new and current Tri-Blend Markers.

   Here is my first card:  (perspective is inside looking outside)

  I used paper from Bloom with Grace as the base and used Cinnamon cardstock for my vallance (window topper).  I cut the window from French Vanilla cardstock with the new window die.  I stamped the tree in Espresso, on Daisy White cardstock and filled in the leaves with Sundance, Avocado and Desert Rose (or possibly Paprika).  The lawn is cut from the Mix-in pack (X9019), using one of the Fancy Border dies. I stamped the owl and pile of leaves and fussy-cut them, then added them to the scene.  Then I affixed 1 of the Square acetate pieces from the from the Square Shaker set (Z4313) to the inside of the Vanilla window, then popped that up on 3-D tape.  The sentiment is from 1 of my retired 'go-to' sentiment sets- D1708, Sending Smiles.  I hope you like it!


   My second card is viewed at outside and looking in:


   For this one, I built my house out of Scarlet and Charcoal cardstock, used a generic embossing plate for the bricks and coloured the mortar of the grey bricks with a dark grey TriBlend marker.  The window is cut from Daisy white cs and the shutters from Black.  The scene is stamped with By the Fireplace (currently in the Sept/ Oct Seasonal Idea book).  I stamped and fussy-cut the swag and stockings on the mantelpiece, along with extra gifts and the chair.  I wanted the chair in the foreground, so popped it up on 3-D tape.  The scene was coloured with a variety of TriBlend markers.  Again, I used a piece of acetate from the Square Shaker Window set (Z4313) and affixed it to the inside of the window.  I overlapped the shutters slightly, on the window cut, and popped it up on 3-D tape.  

  You'll notice a little extra dimension at the bottom of the red bricks- I popped just this last row onto 3D tape, to give the effect of embossed siding on the house, not real brick at all! 


  To add some sparkle to my tree, I used Stickles and Pearls to fill in the ornaments- I think I like the Pearls better, reminds me more of Christmases at home and the ornaments we used on our trees.    Hope you like it!


   Please visit all the participants and don't be shy about leaving comments- we love to hear from you.  To find any of these new (or current) products, please visit your consultant's online shopping site, or, in Canada, my own site at Newfie-Scrapper  .    From me, you'll go on to visit Cat.  If you get lost along the way you can get back on track from the list found on Melinda's blog- If You Bling It.  Thank you for visiting and I hope to see you next time! 

Saturday 17 October 2020

Atlantic Hearts Sketch Challenge

 Sketch # 390

  Hello, and welcome back to another Sketch Challenge.  Here is the Sketch: 


  This is my take on it-


  I went with a Remembrance Day theme, as a small reminder that there is something important occurring between Thanksgiving and Christmas, that does not involve stores and buying whatever is on the shelves.  

  I used embossed cardstock from CTMH, retired several years now- in Cranberry and Black.  The image and sentiment are from C1707- Anzac Day.  I used Shinhan alcohol markers to fill in the image, petals in red, stems green and yellow for the centers.  I stamped a third time and fussy cut the popped it up on 3-D tape, and then positioned my sentiment.  Hope you like it! 


 Keeping checking for more!!

Thursday 24 September 2020

Atlantic Hearts Sketch Challenge

 Sketch #387


   Hello, I'm back with the ladies at Atlantic Hearts, creating with Sketch #387. 


   Why is it something that looks so simple is actually really hard to do right?  LOL, always the way.  


   For this Challenge I went a little Christmas, with Comfort and Joy, red Glitter paper and Gold Foil paper. 


   I also used the white pointsettia from the C&J sticker sheet and a couple of retired Gold Glitter gems to finish it off.  The sentiment is from last Christmas' collection, Holiday Trimmings (C1810).  I bent the stamp around the block at the desired angle to 'wrap-a-round' the sentiment.  Enjoy!